Cutting Board Patterns
Share
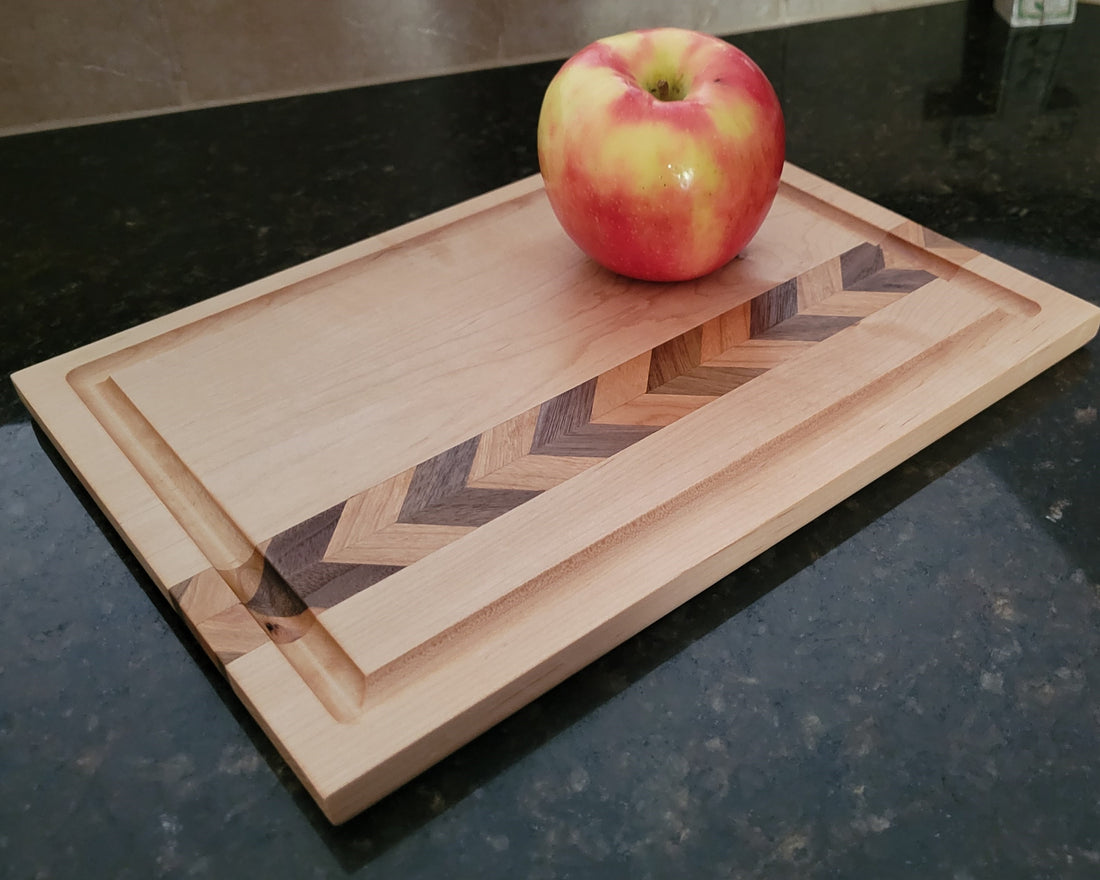
Cutting boards are more than a solid brick of wood. They can be cut and shaped into all kinds of beautiful patterns. A simple pattern that can be used to add flare to a standard cutting board is a chevron pattern. This cutting board pattern gives a new depth to the basic checkerboard or strips of wood.
In this example we will walk through how to create this cutting board pattern and then use that build as an accent to a number of new boards.
Step 1: Pick the Colors
In this example we will use Maple as the main wood for the cutting board. It is a light wood so we will use darker wood for the chevron pattern. Walnut and Cherry make a great match so these will be used in the chevron pattern of the cutting board. When the strips of wood are placed they need to be alternating walnut - cherry - walnut - cherry until the width of the strips equals the width of the final cutting board. For this build we will use edge grains
In this image Walnut is at the top. Cherry is in the middle. And Maple is at the bottom.

Step 2: The Off Set Glue Up
For a chevron pattern the cutting board needs to be glued up at a 45 degree angle. This step will need extra care and extra clamps. One trick to help get the strips at the right angle is to push them against the 45 degree side of a speed square.

Step 3: The Off Set Cut
Once the glue up has set the next step is to cut the 45 degree angle. This first cut is critical for any cutting board pattern to work as intended. For the first cut use the speed square to draw a cutting line along an edge that gets the wood a complete 45 degree cut. This cut will then be used for the remaining cuts on the table saw. That first cut may need to be a circular saw, by hand, or with whatever tools one is comfortable using.

Once all of the strips are cut on the table saw the reveal is ready. Line up the wood as it was cut and then push them with a straight edge to be perfectly aligned. Beautiful!

In the final step to create the chevron pattern for the cutting board turn alternating strips over one side so that it mirrors the other strip next to it. What is revealed are multiple chevrons. These can be used to make a single final cutting board. Or for this example used as flare to help that maple chosen in step 1 look amazing.

Step 4: The final Glue Up
For this this cutting board pattern one of the chevron pairs will be placed between two off set cuts of maple. This will be the second and final glue up for this cutting board.

Once the glue is dry then trim the edges and send it through a planner. At this point in the process a nice blank has been made that may be finished in whatever style is needed. Click here to see the cutting board store here at Unique Craft works.
